Friday, April 12, 2013

Do Try this at Home

The Parts Bin


This post is for those who may want to take their towel aircraft higher or simply for another flight. Below is the list of items used, besides the students airframes, to make these planes fly. This is the same list I sent out in one of the Aviation program e-mail group. It has been divided by vendor. There are only 4 different vendors.
 
Though it may look extensive each item was sourced to find the right items for a good price for the planes.
 
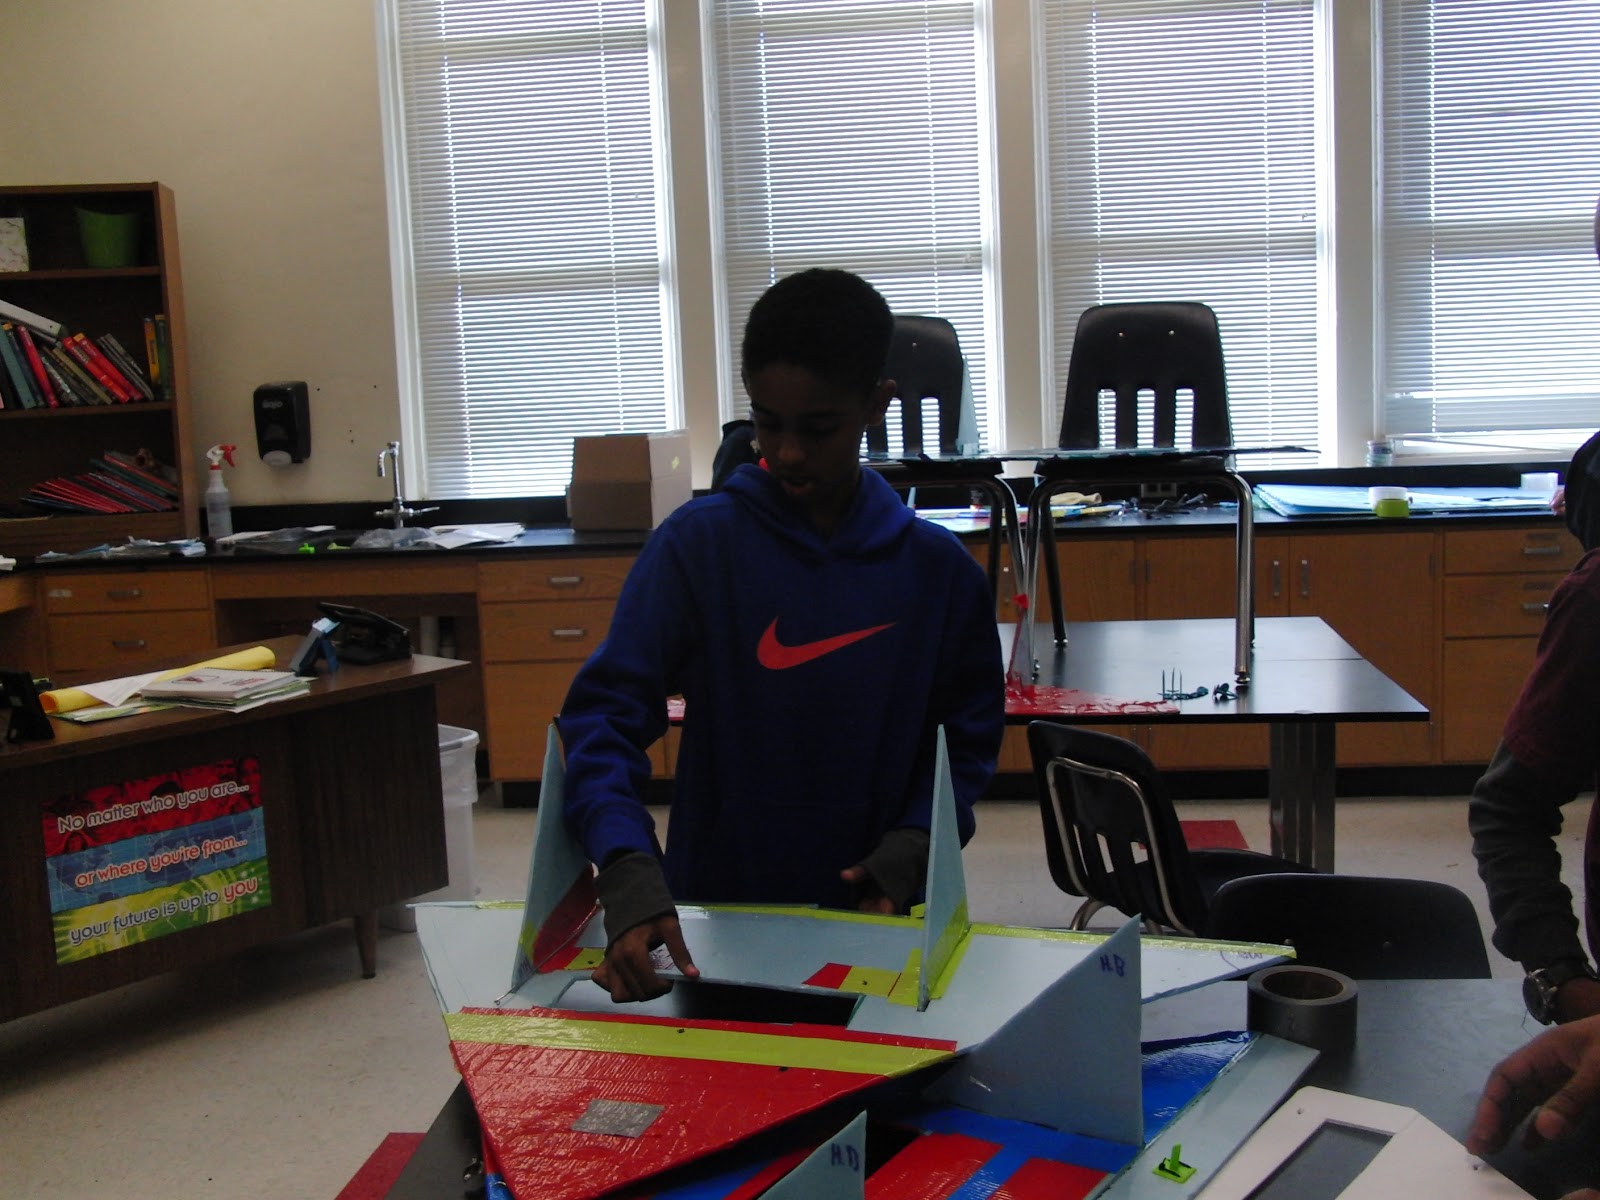
The hardware below was used in the Discovery Place program airplanes to make them fly
(You can make substitutions in many cases and still have a working airplane)
The total cost to get the airframe each student has, flying given the list below is around $160 plus shipping.
 
LOWES
Qty. 1- $5.98 each – (Coroplast) The Hillman Group Blank Sign (this is used to build the deck that holds all of the control parts) This material is available instore.
NOTE: This material was cut out to specs listed on the Brooklyn Aerodrome website.
 
Qty. 1- $? – Zip ties to hold the deck to the airframe as well as holding the motor servos and electronics to the deck. These are available at any hardware store.
To make the decks easily changeable the After School Aviation program used the following item to secure the decks to the airframe, rather than standard zip ties.
$14.00- Makedo FreePlay kit for 1. (The zip ties in these kits are easy to remove and reuse. They do however break somewhat easily in a crash).
 
 
AMAZON.COM
Qty. 1 - $79.98 each - Controller TTX404 4 Channel 2.4GHz TX/RX no servos  (this transmitter does come with the receiver) http://www.amazon.com/gp/product/B0043RGYQK/ref=as_li_ss_tl?ie=UTF8&tag=brooklaerodr-20&linkCode=as2&camp=1789&creative=390957&creativeASIN=B0043RGYQK
Qty. 2 - $7.95 each – Servos Hex Tronik HXT900 micro servo 9g / 1.6kg
Qty. 2+ - $4.52 each – Slow Fly Propeller 10x4.7 SF
 
HOT DEALS
Qty. 1 - $27.95 each – 400 size Outrunner Brushless Motor A2212 and speed control. (under choose options – RPM/V or KV we chose 1400) (under speed control we chose 20A brushless ESC for planes)
NOTE: preparing these parts for use will require some soldering.
HOBBY KING
Qty. 1+  - $5.64 each – 1750mAh 2s 7.4V 20C Lipoly Pack (Battery Pack)
Qty. 1 pack - $2.44 per 5 pack – Male XT60 connectors (5pcs/bag) One of these will be soldered to the power wires on the ESC (electronic speed control)
NOTE: preparing this part for use will require some soldering.
 
 
NOTE: The charger listed below was not used in the After School Aviation program but should be a good low cost alternative for individuals.
Qty. 1 - $11.44– Turnigy 2S 3S Balance Charger 110/240V input
Given a need for vast charging needs in the EMS Lab at Discovery Place, the After School Aviation program used the following charger.
$89.99- Quattro 4X6S Lithium Polymer multi charger
The charger was used along with the following power supply (which also serves multiple purposes in the EMS Lab)
Around $99 – eFuel 20A Switching DC Power Supply.
 Also if you or your students want any assistance in getting their plane flying please feel free to contact me. 


Session 10 Time For Flight

Session 10 Time for Flight


This session concluded our after school aviation program. The end of goal of this session was to have each student get their plane into the air. That is what happened. We had cheers, high fives, and shouts of elation from students and parents. What an epic finale to this great program.


We had great turnout by parents and family members. Every one of our students flew their plane. Some of the more impressive flights were the one that crashed into the school building, the one that landed about 90 yards down the soccer field. The greatest flight went at least 100 feet up and about 120 yards in length. It flew past the end of the soccer field and ended up landing in a tree. Working as a team the students successfully recovered the plane. Sadly the on plane cameras we used did not record anything other than lots of blue sky, so we left those videos off. Below you will see videos of some of the great and not so great flights.


As you can see the excitement level was high with all of the students. They were not only excited about their own flights but also by the flights of their fellow classmates.


Below is the amazing Piedmont IB vs. Airplane exchange. The airplane lost.


Even with all of the new pilots the planes held up surprisingly well. The durability and repairability of these planes is amazing. The photo below shows some of the students with their planes after the flights.


Though this looks a lot like play it certainly is much deeper. These students took ownership of the creation of their planes. They became so excited the moment their planes went into the air. They used tools they had not seen before. They constructed a structure with system components that was capable of mating up with control and power hardware. They utilized geometry and math. They learned how to draw in 3D and how to convert that "CAD" type file into a "CAM" file of machine code for 3D printing. They explored the details of setting up a 3D print, which is much more like machine tool work than printing. They got their start with some basics of flight and over ten weeks made wings that literally soured.
 
Here are some parting thoughts about the program from the students themselves.


Thank you to all of the students and parents that took part in this program. I know it was a sacrifice of time and energy for many of you. As I have said before the students were fantastic. The devotion they had to the program showed through. That is why of the airplanes made it into the air and some even took long journeys.


Sunday, March 17, 2013

Session 9

Session 9 at Piedmont IB Middle in Charlotte NC.
The primary focus of session 9 was to get some planes in the air. Being that Discovery Place has no good place to fly an airplane, Piedmont will be the location for the remainder of the class sessions. We had 3 planes ready to take out for flight testing by the middle of class during this session. At the
last minute one of the 3 planes had a technical issue that would postpone its flight until the final session, session 10.
 
 
A number of parents showed up to witness the flights, though we were only able to test fly 2 planes. Due to technical issues neither plane flew particularly well. The prime issue was that the instructor, me, installed 2 of the propellers incorrectly. After a brief e-mail correspondence with the Brooklyn Aerodrome this issue came to light. During the weekend the propeller installations were tested in the EMS Lab. Having the propeller facing the correct way produces 100% more thrust than having it installed incorrectly. It was most certainly an embarrassing mistake on my part but one I will never forget. The greatest part about science or trying and doing is that we often learn far more from our failures than from our successes. That same thinking is a driving force for this program. These planes are not perfect but they are the work of each student. Each plane will work as the student constructed it.


Due to challenges faced in session 9 we had a some disappointed and disheartened students. I am also sure we had some concerned parents and teachers. This tension weighed heavy on me as the session came to a close. I went home that evening and told my wife about the challenges of the day. In her wisdom she explained to me how the frustration I saw was a good thing. Those strong feelings are because the students are invested in and really care about what they are doing. If they were apathetic about the challenges then I should worry. That opened my eyes to how much these students love the learning and process they are experiencing in this program.


The next session, session 10, will be the final session. We will put flight decks on each plane and try to get each student in the air and flying. Some of the flights may be brief but each plane will get into the air. At the end of the session each student will take home their airframes as a reminder of their work. A parts list will also be supplied that gives students the opportunity to reproduce the flight and control deck on their own time. The cost for all of the materials to do this comes to around $160. I hope that those who have the resources available might take this next step of exploration. For those who do not have the resources, I hope this program has opened new windows of possibilities and dreams for their future.


Wednesday, March 6, 2013

Session 8

Session 8 at Piedmont IB Middle in Charlotte NC.

The primary focus of session 8 was to finish the airframes and get the planes ready to fly. It is during this session that we also moved the program to Piedmont IB Middle http://schools.cms.k12.nc.us/piedmontMS/Pages/Default.aspx . Being that Discovery Place has no good place to fly an airplane, Piedmont will be the location for the remainder of the class sessions. When the planes are flight ready we will head out to Piedmont's soccer field and give them a try. This did not happen by the end of session 8 but it is very likely to happen by the end of session 9.


Today was a catch up day for some students who had missed sessions. It was also a day for attaching 3D printed elevon connectors to planes, using zip ties. Most of the session was building,building, building. One of the key portions of today was also cutting the correct length of control rod to run from the servos, on the power plant and control board, to the elevons on the airframe. Coat hangers are the raw material for the control rods. The proper length of the control rods is very important as each power plant and control board will be removable and used for multiple airframes. These rods will remain with each airframe but should easily work with any of our 5 power plant and control boards.


It was so great to see such a large group of students working so diligently on their tasks. The reward of getting these airplanes in the air will surely be an amazing milestone for all of the students.


The staff at Piedmont IB Middle have been so helpful in making this program a great success. Paul Booth, who we have worked closely with, arranged or on site class space for the final sessions of the program. He also arranged for storage space for 20 very large foam airplanes. I would also like to say thank you to Ms. Burick for the use of her classroom.
During the next session we will finish preparing the airframes and getting the control rods bent for the elevons. The likely hope is to have at least 5 students test fly their airplanes by the end session 9. We also have plans to run a 10th session that is all flight. 


Session 7

Session 7

The primary focus of session 7 was to finish cutting out the planes and begin building assembling the airframes. During the original planning phase the class was set to run 7 sessions. Being that this program is a first run program we were not sure exactly how much time would be needed. In the end it looks like we will need 9 or 10 total sessions but with our great partners at Piedmont Middle this will not be a problem.

When it comes to assembling the planes students need to tape the airframe to add more strength to the material. They also has to attach their vertical stabilizers and make holes for mounting the power plant and control structure. Being that components are positioned relative to this power plant and control structure we often refer to it as a "template." It is the white section in the image above. The "template contains the motor, speed control, RC receiver, servos that will move the elevons and the lithium polymer batteries that will power the plane. Discovery Place has also designed and 3D printed a micro camera holder, the green part in the image above,  for each "template." The hope is to get some great in flight video.
At this point in the program there are students at 3 different stages of assembly. In total we have 20 students each building their own airplane to fly.  


The next session will take place at Piedmont Middle. The goal is to get some first flights done, but we are not likely to get that far. The goal of the next session will be for students to connect their 3D printed elevon connects to the elevons. They will also need to cut and bend their control rods that connect the servos to the elevons.The flights will likely happen during session 9.


Tuesday, March 5, 2013

Session 6

Session 6

The primary focus of session 6 was to finish marking out planes on foam board and to cut the planes out. For this task student used hot knives. A hot knife is a soldering iron with an exacto blade on the end. We handed these tools to middle school students. Before cutting the class as a whole and each student one on one were given safety insturctions. We set up 4 cutting stations. Once they put on their googles and kevlar gloves students were required to show the teacher how they would cut safely.


This was done by showing standing position and cutting action to the instructor before begining. As each student demonstrated their ability to make a cut that was not directed toward any part of thier body they were set free to cut out thier airplane parts.


Students who were not cutting continued to help mark out airplanes on foam. As you may be able to tell from the large number of photos we also had some volunteer photographers. This group from Piedmont Middle has shown to be a great group of responsible and hard working students.

During the next session we will finish cutting out airframes and begin the basic assembly of the aircraft. 


Session 5

Session 5

The primary focus of session 5 was laying out the airplane design on insulating foam. This involved learning to ready plans, measuring, marking, finding center points and doing some math. The plans that are being used for this program are the plans for a "Towel" aircraft from the Brooklyn Aerodrome http://brooklynaerodrome.com/ . They have created a simple to build RC plane that utilizes basic shapes and elevon flight controls.


Given that each airplane starts out as a 3" X  5" piece of foam students spread out on the museum floor. This gave each person plenty of space to make good use of their meter stick and marking tools.


Once all of the markings were made on the foam board students could begin to see what their plane may look like.

By the end of the session many of the students had completed marking their foam board. Those who were finished early offered to help other students with their marking. As more students finished theirs they offered to help even more of their fellow classmates. At some point during this work out VP of Education passed by, completely invisible to the thoroughly engaged students.

During the next session we will finish marking the designs on the foam boards and start cutting them out.